Achieving Sharp Long Exposures: Try L-Bracket with Tripod for Your Vertical Shots
When I started photographing cityscapes with a few minutes of long exposure, I took almost all shots horizontally (in landscape orientation), but this has changed in recent years, and I now shoot most of my cityscapes vertically (in portrait orientation).
At first, I didn’t quite like my camera awkwardly hanging on the side, as seen below, because if the lens attached is heavy, the tripod head cannot support the weight of the lens, and the camera moves downwards while shooting long exposure (resulting in a blurry photo 😥).
Shooting vertically by turning the camera 90 degrees.
So, upon upgrading to Nikon Z 6II in 2022, I bought a piece of metal called an “L-bracket” (Zelda L-Bracket for Nikon Z 5, 6, 7, 6 II, 7 II Cameras ), which can be attached to the camera body and clamped to the tripod head.
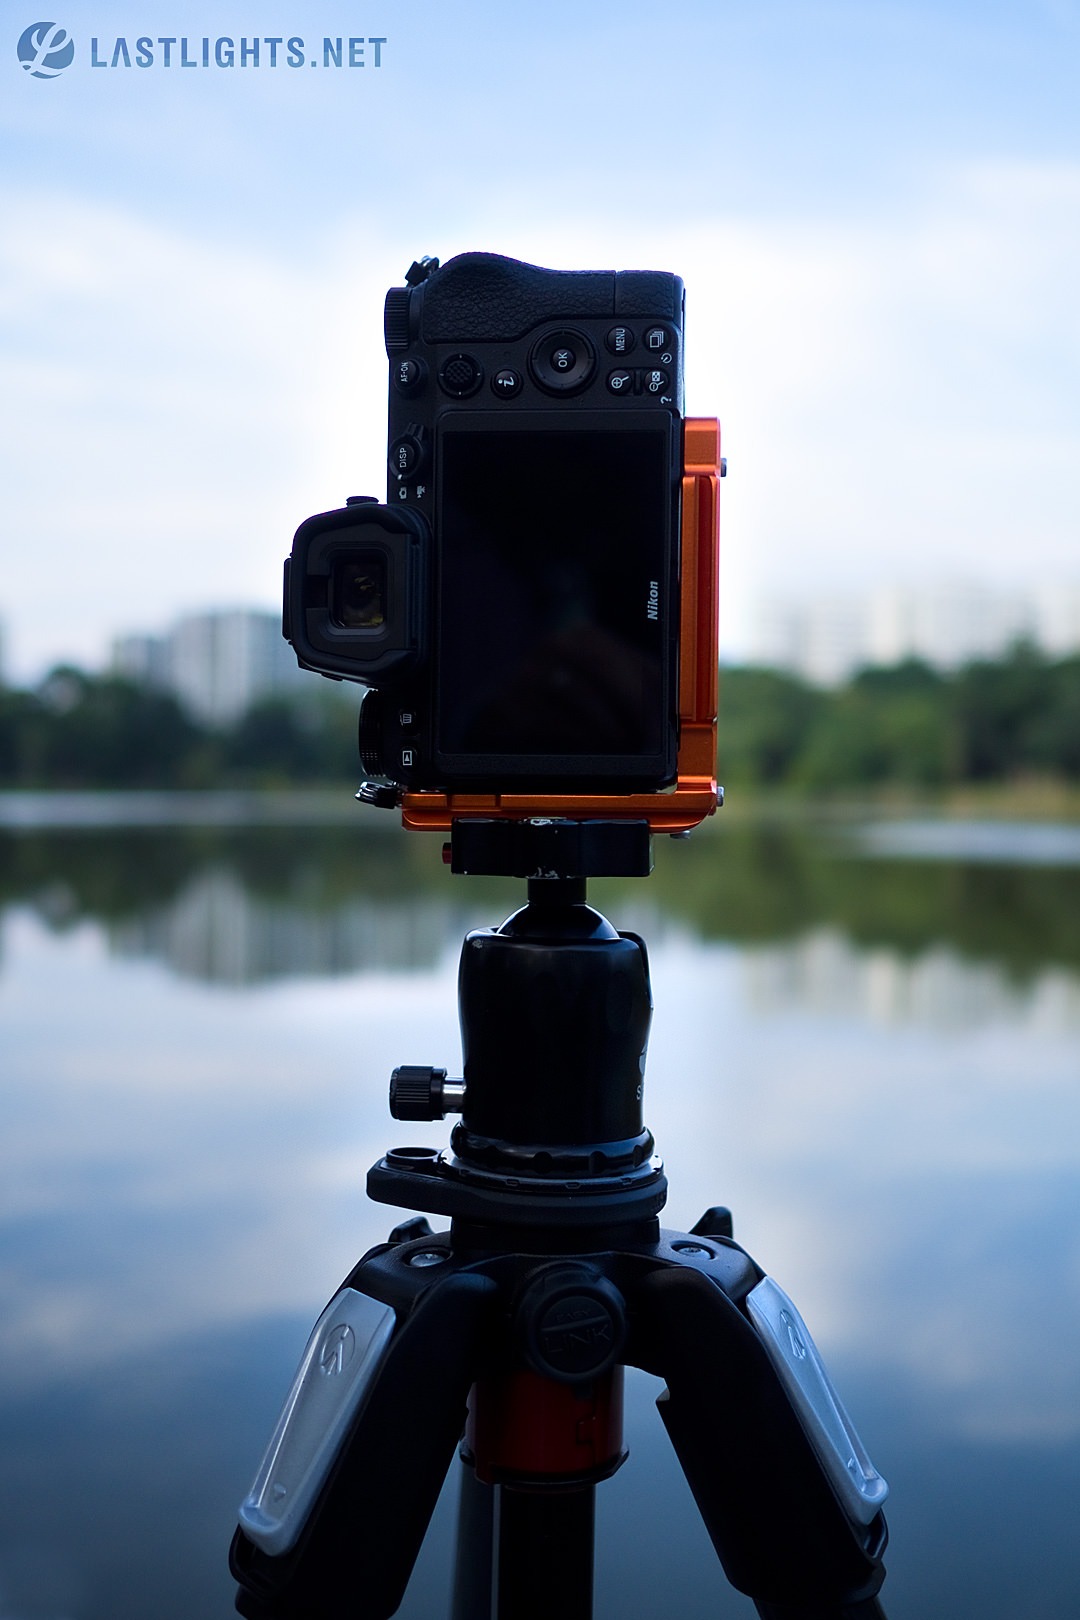
As seen in the photo below, the L-bracket is placed at the top of the tripod head, keeping the center of gravity over the support base, thus it’s perfectly balanced and remains stable during long exposure. 😀
Zelda L-Bracket for Nikon Z 5, 6, 7, 6 II, 7 II Cameras in use. I chose Copper among the three colors available (Copper, Grey, Black).
BUT, there is one big problem here. I didn’t notice it until I was out shooting with the L-bracket for the first time (and got panicked 😱), but the accessory terminal for my cable shutter release gets completely blocked, as it’s located on the bottom side that’s clamped to the tripod head.
This seems like a design flaw to me. 😅 For photographers shooting long exposure, it defeats the purpose if the cable shutter release cannot be used together with the L-bracket.
This isn’t an issue at all if you’re using a “wireless” shutter release, but I still prefer using the cable shutter release, so my solution (compromise 😅) is as follows.
Moving the camera to the right a bit to give space for the cable release to be plugged into the accessory terminal. A little awkward, but it works without affecting the stability!
Last but not least, the L-bracket comes in two types: “universal” (supposed to fit a variety of cameras) and “dedicated,” which only works with specific cameras like my Zelda L-Bracket for Nikon Z 5, 6, 7, 6 II, 7 II Cameras .
The L-bracket has quickly become an indispensable item for my photography, and I can no longer think about shooting vertical shots without it. 😀
RELATED POSTS
RELATED POST What Is Blue Hour Photography? A Guide with Tips and Examples to Capture the Perfect Moment
RELATED POST Where City Meets Sea: My Love Affair with Waterfront Cityscapes
RELATED POST Long Exposure Photography Essentials: A Quick Start Guide
NEVER MISS A POST
You are at Home Updates Achieving Sharp Long Exposures: Try L-Bracket with Tripod for Your Vertical Shots


